Designing eye‑catching, oversized bubble alphabet letters can turn a storefront, event backdrop, or playground into a visual landmark. The right mix of digital design apps and physical fabrication tools not only trims production time but also prevents the common slip‑ups that leave letters looking flat, uneven, or fragile. Below is a concise rundown of the most reliable solutions, plus the pitfalls they solve.
What digital programs let you draft bubble letters without pixel‑stretching?
Most designers start on a vector platform because vectors scale infinitely—a crucial factor when you’re moving from a 12‑inch mockup to a 10‑foot sign.
- Adobe Illustrator – Industry‑standard bezier tools, live‑shape editing, and a vast library of brush presets make it easy to round corners and add depth.
- Affinity Designer – Offers comparable vector precision at a one‑time purchase, plus a “Persona” switch that isolates raster effects for shading.
- Inkscape – A free, open‑source alternative with node‑editing and path‑offset features that can generate the thick outlines typical of bubble letters.
- Procreate (iPad) – Ideal for sketch‑first workflows; its brush engine mimics airbrush highlights that later translate into 3‑D renderings.
When you begin with a vector outline, you avoid the common mistake of scaling a raster image, which results in jagged edges and uneven line weight at large sizes.
Which 3‑D modeling tools turn a 2‑D design into a printable or CNC‑ready model?
After the vector stage, many creators export to a 3‑D format (OBJ or STL) for fabrication. The two most approachable programs are:
- Blender – Free, with a “solidify” modifier that adds realistic thickness to bubble letters and a sculpting mode for custom bulges.
- Fusion 360 – Cloud‑based CAD that integrates parametric control, so you can tweak letter depth or wall thickness without redrawing.
Skipping this step or using only a 2‑D file often leads to letters that warp or break under their own weight once installed.
How do I choose the right fabrication equipment for large‑scale bubble letters?
Material choice (foam, plywood, acrylic) dictates the toolset. Here’s a quick match‑up:
| Material | Best Tool | Why It Works |
|---|---|---|
| High‑density foam | Hot‑wire cutter | Produces smooth, rounded cuts that preserve the bubble shape. |
| Plywood or MDF | CNC router | Offers precise, repeatable routing for clean edges. |
| Acrylic or polycarbonate | Laser cutter | Delivers fine detail and clean inner cavities for internal lighting. |
| PLA or PETG filament | FDM 3‑D printer | Allows rapid prototyping of complex curves before committing to a larger build. |
Many first‑time makers attempt to carve foam with a hand saw, only to end up with uneven curves and splintered surfaces. Switching to a hot‑wire cutter eliminates those jagged edges and speeds up production.
What are the most frequent design errors, and how can smarter software prevent them?
1. Ignoring kerning between letters. When each bubble letter is treated as a separate object, spacing can look random. Illustrator’s “Align” and “Distribute” panels keep the rhythm consistent.
2. Overlooking material expansion. Wood swells with humidity, causing cracks in tight corners. Fusion 360’s parametric tolerance settings let you add a small relief radius to each corner, reducing stress.
3. Forgetting lighting considerations. Bubble letters often double as illuminated signage. Procreate’s layer effects let you preview glow and shadow before committing to LED strips or back‑lit acrylic.
How does a real‑world example illustrate the impact of proper tooling?
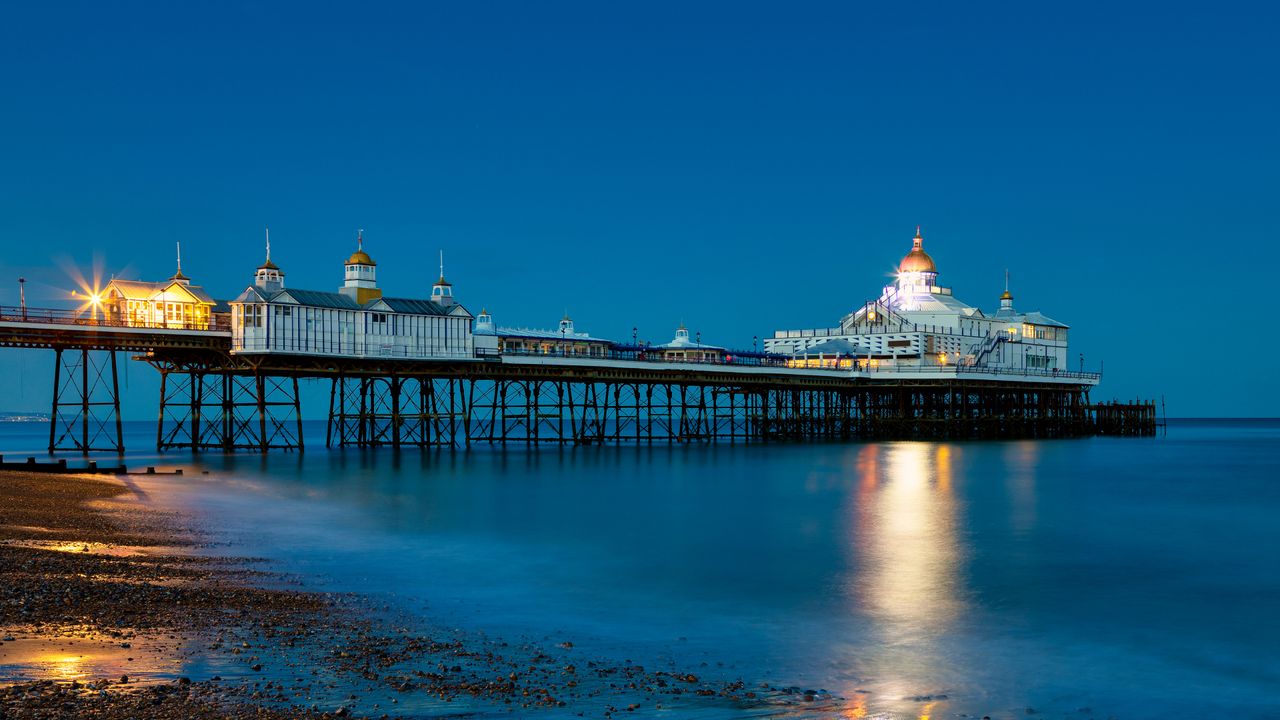
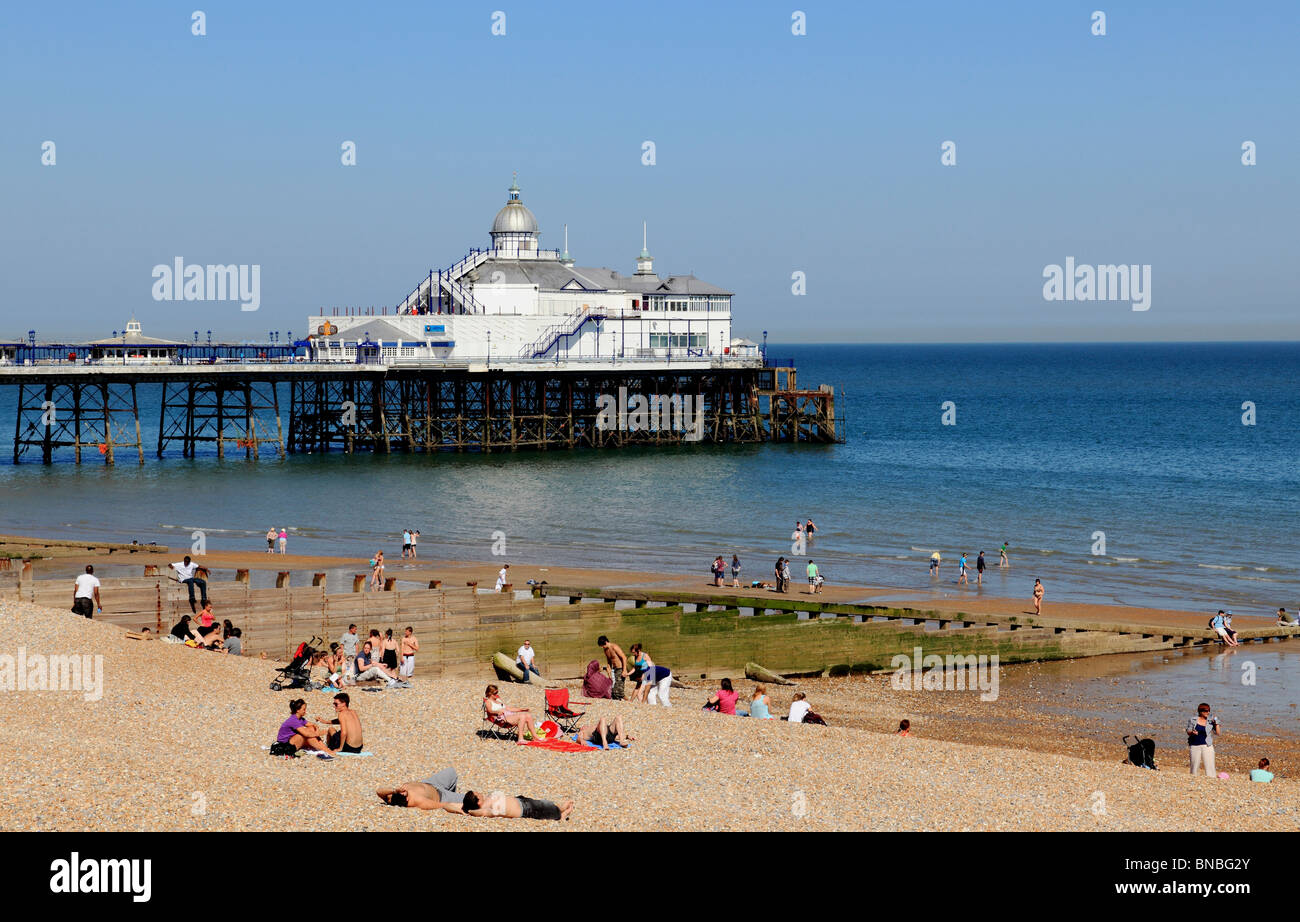
At Eastbourne Pier, oversized bubble letters spell out event titles along the boardwalk, making them readable from the sea. The installation combined CNC‑cut plywood cores with LED‑backlit acrylic overlays—an approach that balanced durability with visual flair.
What’s the most efficient workflow for a value‑focused buyer?
- Sketch the concept in Procreate or on paper.
- Transfer the outline to Illustrator; use the “Offset Path” feature to set a uniform thickness.
- Export as SVG, then import into Fusion 360 to add 3‑D depth and material tolerances.
- Render a quick preview in Blender to check lighting and shadows.
- Choose fabrication: hot‑wire for foam, CNC for wood, or laser for acrylic.
- Apply a protective coating (clear coat for wood, UV‑resistant sealant for acrylic) to extend lifespan.
Following this step‑by‑step pipeline eliminates trial‑and‑error, keeping costs down while delivering crisp, sturdy bubble letters that stand up to weather and foot traffic.
Where can buyers find reliable suppliers for these tools?
Major electronics retailers stock the consumer‑grade versions of hot‑wire cutters and CNC kits, while specialty shops like Make: Tools or local maker spaces often rent larger equipment. For software, Adobe and Affinity offer subscription or perpetual licenses; Inkscape and Blender are free download.
By aligning the right digital design platform with the appropriate fabrication hardware, you avoid the pitfalls that turn a promising sign into a costly rework. The result? Big bubble alphabet letters that look as playful as they are professional—no matter where you install them.
Eastbourne Beaches Hi-res Stock Photography And Images - Alamy
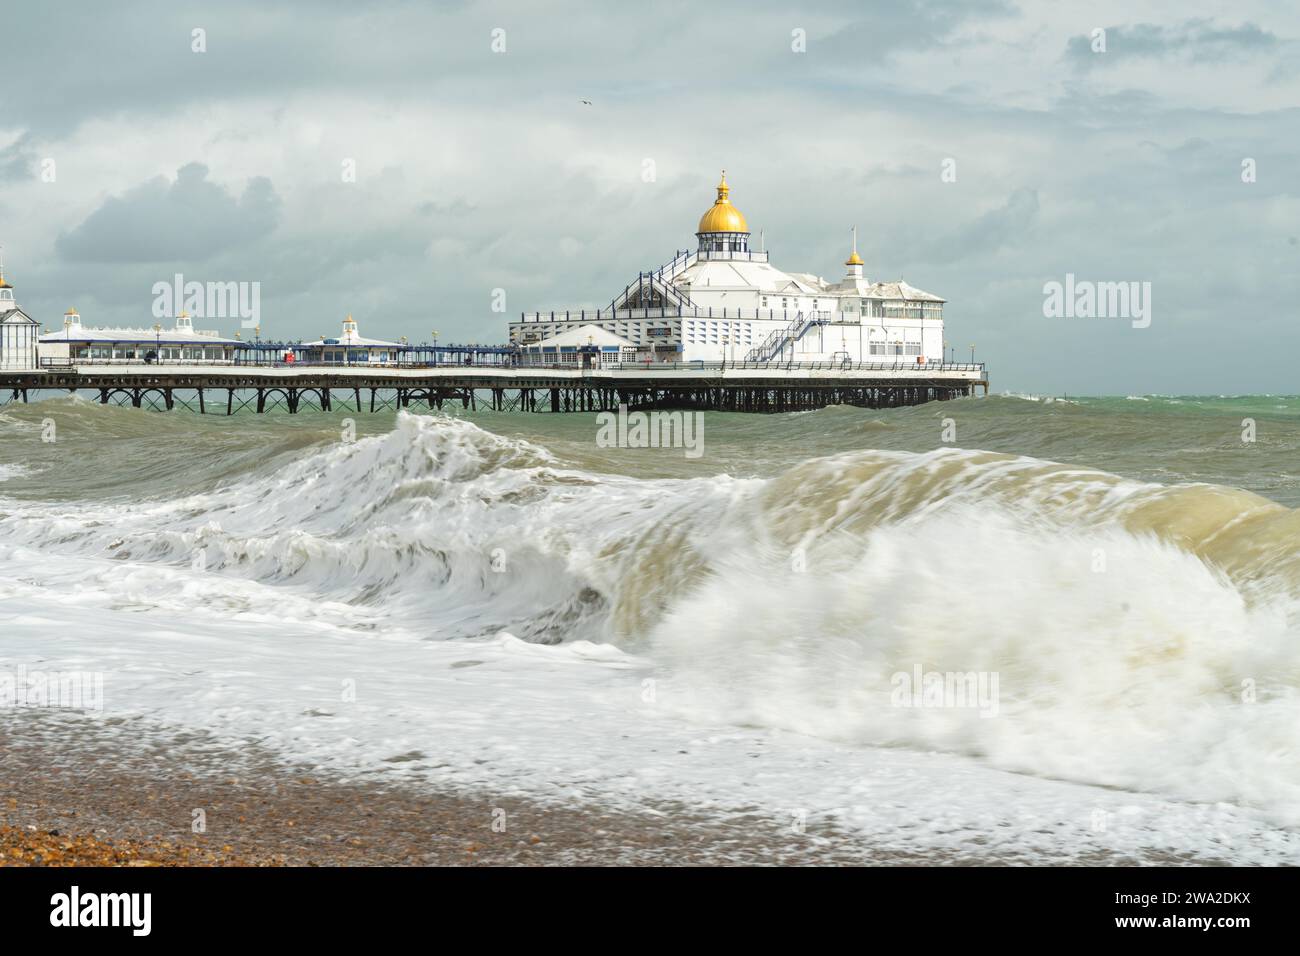
Eastbourne beaches hi-res stock photography and images - Alamy
Eastbourne Beach - Photo "Sunrise At Eastbourne Pier, UK" :: British
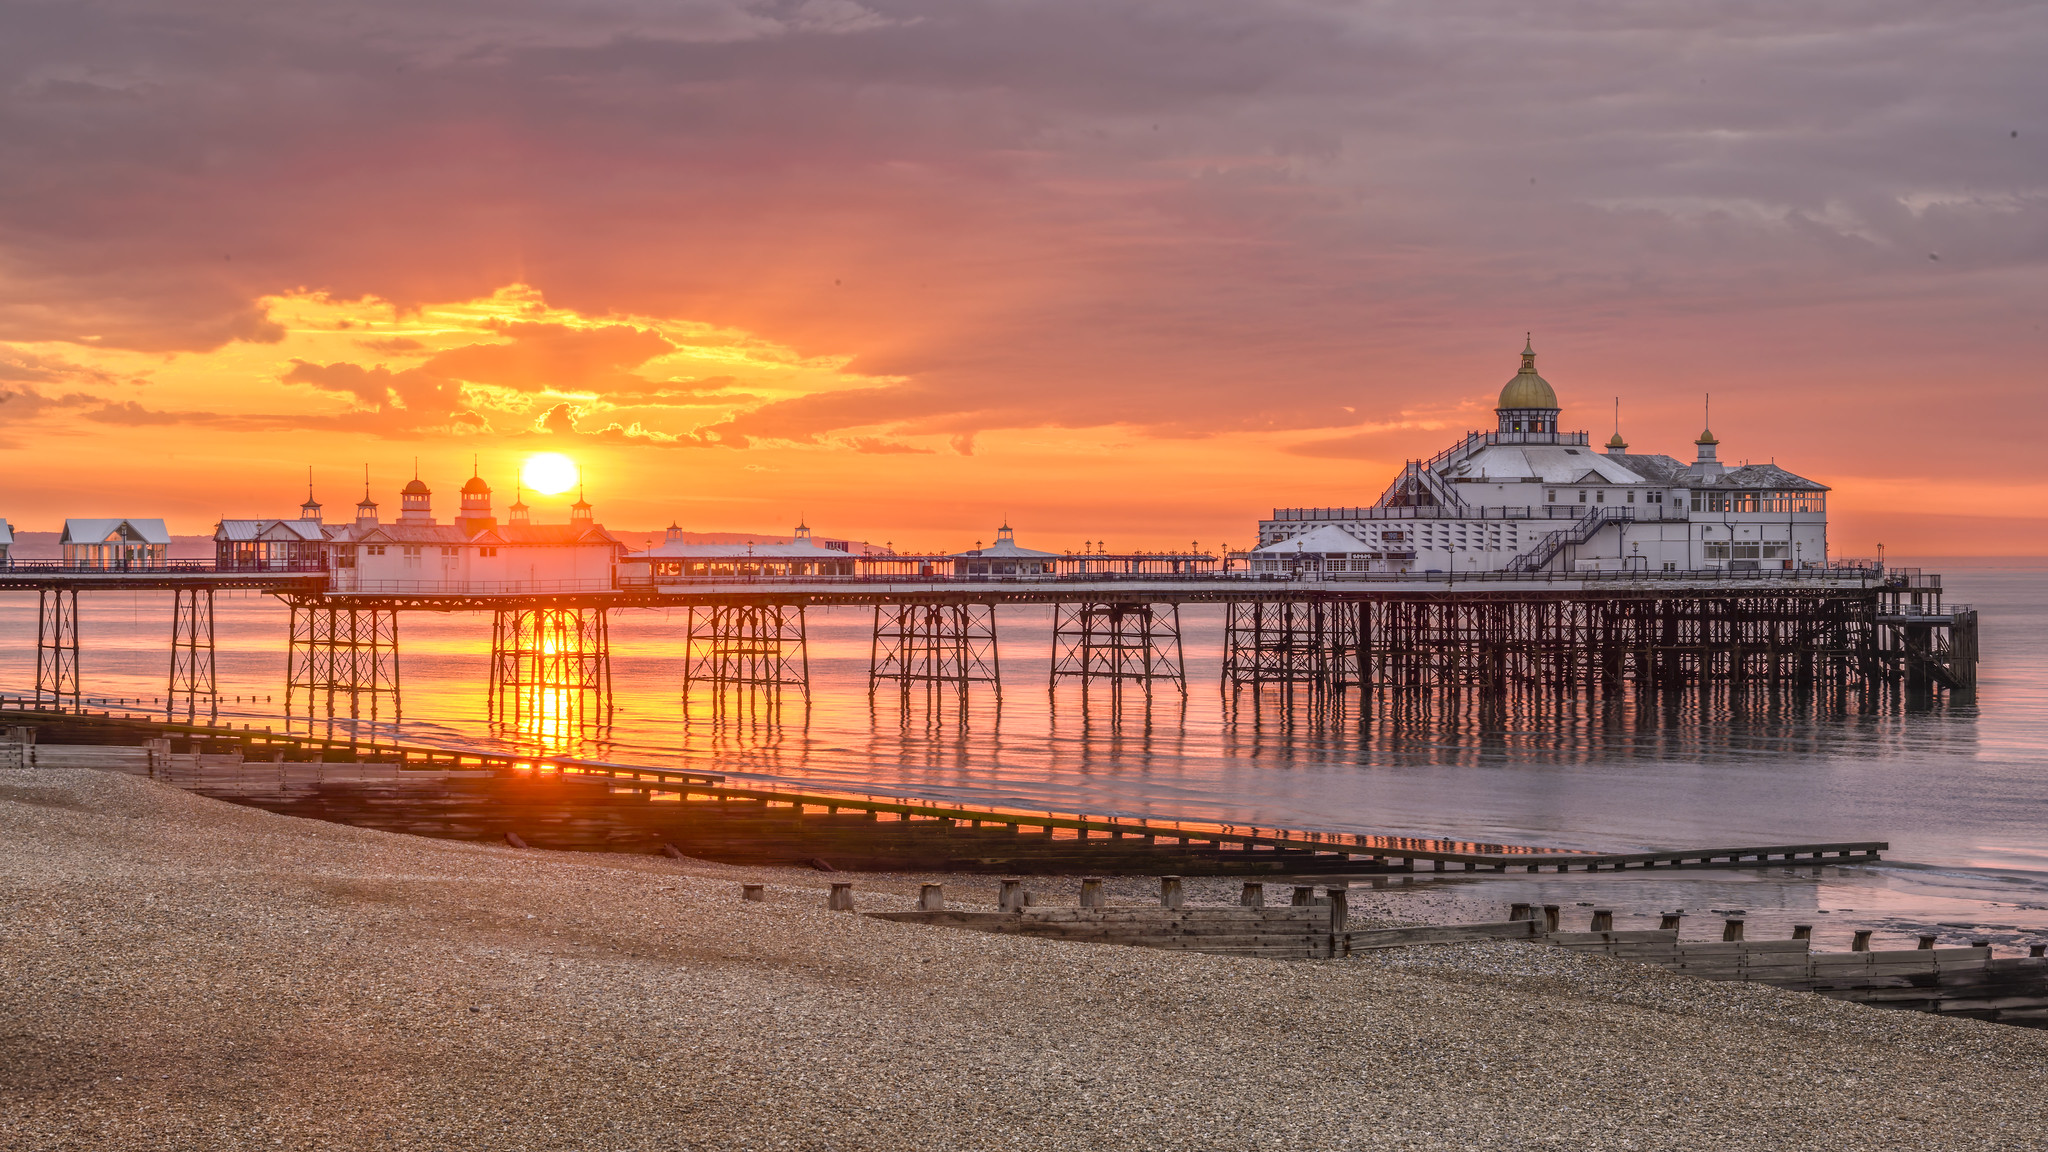
Eastbourne Beach - Photo "Sunrise at Eastbourne Pier, UK" :: British ...
England, East Sussex, Eastbourne, Eastbourne Beach And Pier Stock Photo
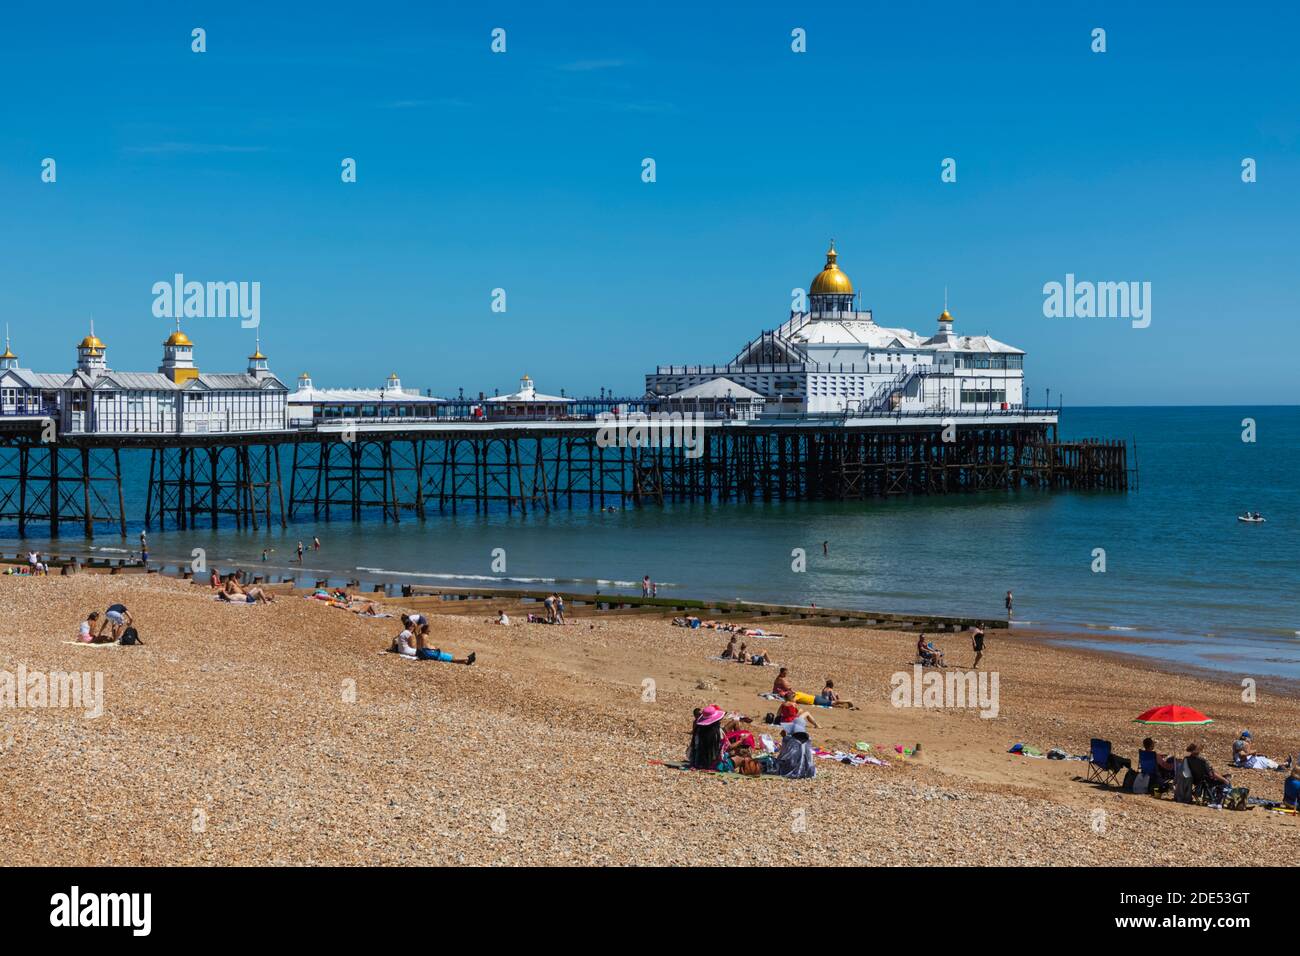
England, East Sussex, Eastbourne, Eastbourne Beach and Pier Stock Photo ...
Eastbourne Beach Hi-res Stock Photography And Images - Alamy
Eastbourne beach hi-res stock photography and images - Alamy